Maps for Garmin based on OpenStreetMap

What can you do with the maps?
Maps can be installed on Garmin GPS's, as routable maps that will give you turn by turn instructions to go to a given place (depending on device's specifications). It can also be seen in your computer, where you can calculate your routes, using MapSource or BaseCamp Garmin software, or the open source program QMapShack. With the topographic and DEM maps you can also calculate profiles for your routes.
Android Maps can be used on many mobile and desktop apps, such as OruxMaps, Locus Map, Cruiser and much more.
Viewing the maps in your computer:
Linux: you can use Qlandkarte GT or its sucessor QMapShack. You can also use MapSource with wine and load maps running the auto-install file (
wine OpenStreetMap_*.exe) or copying *.gmap folder into ~/.wine/drive_c/ProgramData/GARMIN/Maps/Windows: maps can be used with Garmin software MapSource or BaseCamp. They can also be opened with the open source programs Qlandkarte GT, its sucessor QMapShack or MapEdit++, although with them some features will be limited.
In order to load maps in MapSource or BaseCamp, you just have to run the file named «OpenStreetMap_*.exe» and follow wizard steps. It is important not to change installation path (typically C:\ProgramData\Garmin\Maps in Windows 10+), otherwise BaseCamp will not be able to read map.
Mac: you will need Garmin programs BaseCamp (to open maps, plan routes, etc.), MapInstall and MapManager (to send maps to GPS) installed in your system. To see the maps on BaseCamp you must proceed as follows:
- Open the file you have downloaded in a “Finder“ window. Within it, you'll find a folder called “OpenStreetMap Country Type.gmap“.
- In another “Finder“ window, go to “Applications“, right click on “Garmin BaseCamp“ icon and select “Show Package Contents” option.
- “Contents“ folder will show up and, within it, “Resources“ folder. Move “OpenStreetMap Country Type.gmap“ folder into “Resources“. Once done, map will be ready to be used in BaseCamp.
Installing the maps in a GPS:
First of all, download file for GPS of the country you want from Downloads page and unzip it. You'll get a file called gmapsupp.img. The easiest way to have the map in your Garmin device is copying gmapsupp.img file within «Garmin» folder of the external SD/micro SD card of the device (create it if it doesn't exist). In some models gmapsupp.img file must be copied into «Map» folder instead of «Garmin» folder (note «Map» folder may be hidden). To copy it use a card reader (faster) or connect your device to the computer with a suitable cable, in 'Mass storage' mode (slower).
You can also use Garmin MapSource or BaseCamp software to send map to device. For that, you have to load the map in MapSource/BaseCamp first, as explained above.
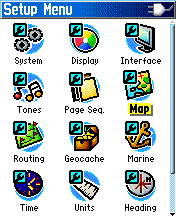
Once copied, switch on the GPS, go to Settings>Map>Map Info and enable OpenStreetMap map. The way to activate the map varies from one model to other:
nüvi 300:
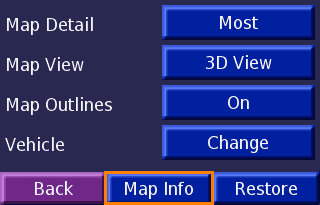
Under Map Setup, enter Map Info
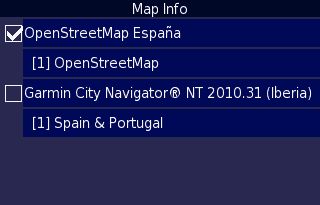
Check OpenStreetMap map to activate it
Legend HCx:
Enter Map Setup
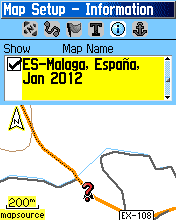
You have to activate each tile
Topo maps on GPS:
You have two options in order to get topo maps on your GPS. Easiest one it to download both «OSM Base Map» and «Contour lines» for GPS of the country, that you'll find at Downloads page. You must install both files as explained in previous section.
Second option is to install Base Map and Contour Lines on your computer, select tiles for your area of interest of both layers and send them all together to the GPS. You can see here how to do it. This method may be useful for old models, which can only read one map file, or for very large areas not offered as a single file.
Using on Android devices:
If you want to see maps from this site on your Android mobile device, you can use OruxMaps App. You have two options for that:
- Use Android specific maps (recommeded):
- Check if map is available at section Android Maps. If so, download it from there and unzip downloaded file. You'll get one or more files with the name of the country and *.map extension (ex. Spain-S.map).
- Map installation: copy file Country.map on maps folder of the app. In order to know which is the right folder, go to App settings->App storage->Maps directory (default is storage/emulated/0/Android/data/com.orux.oruxmaps/files/oruxmaps/mapfiles).
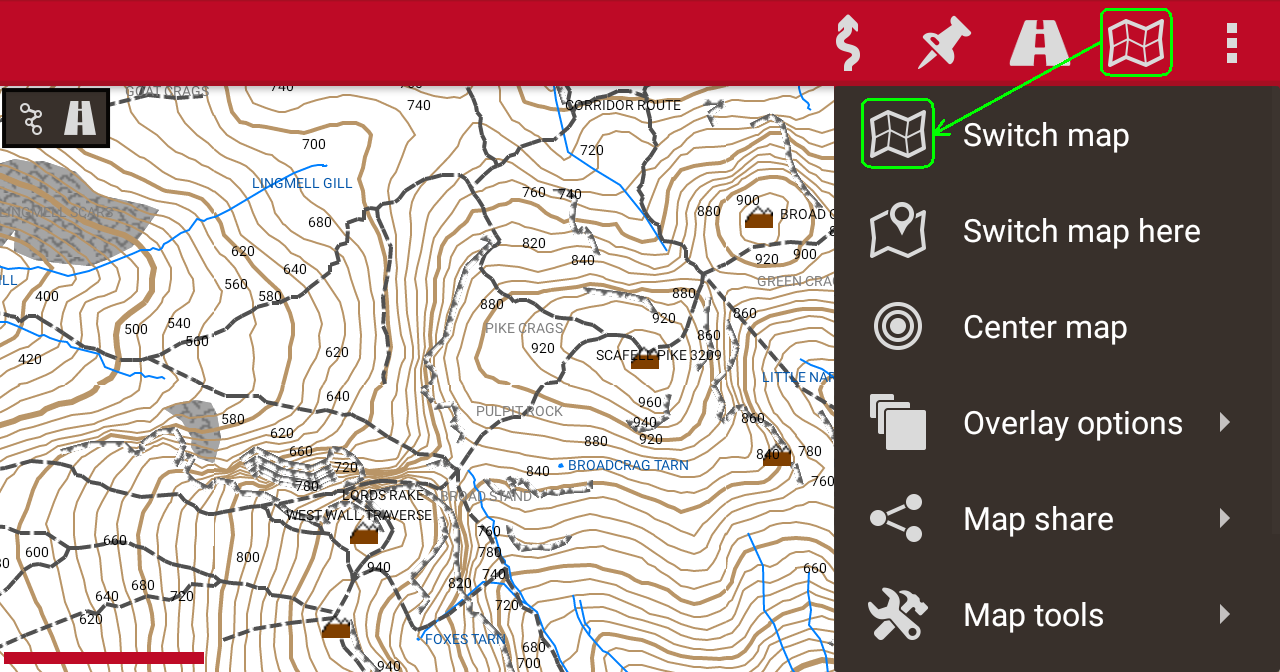
- Open OruxMaps App, tap on “Switch Map“ button and select map copied in previous step.
- Style installation: copy alternativaslibres.zip file on Mapsforge themes folder of the app. In order to know which is the right folder, go to App settings->App storage->Mapsforge themes. Once map is activated, you must apply “alternativaslibres“ theme under Menu->Mapsforge/VTM maps->Map style.
- POI installation: if you want to enable POI search capability, copy Country.poi file in the same folted you copied map file. To search for a POI, go to Menu->Waypoints->Search in map (offline).
- Use map for Garmin GPS:
- Download file for GPS of the country you want from Downloads page and unzip it. You'll get a file called gmapsupp.img. You can change the name to something more descriptive, such as MyCountry.img.
- Copy that file into OruxMaps maps folder. Look at option 1 to see how to identify correct folder.
- Open OruxMaps app, click on «Switch map» button and select previously saved file.
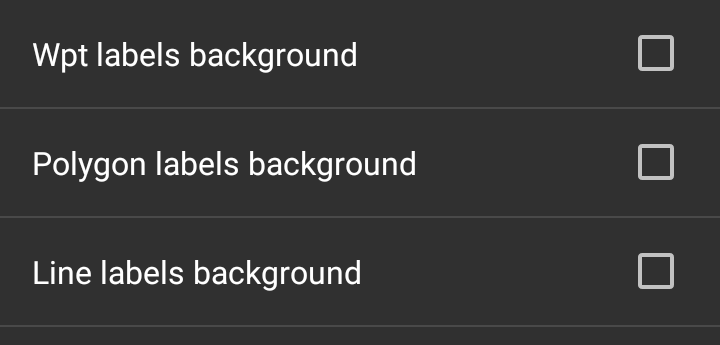
- For a better visualization of maps in Garmin format, it is recommeded to go Global settings->Maps->Garmin maps settings, and uncheck “Wpt labels background“, “Polygon labels background“ and “Line labels background“ boxes.
- Note: these maps are not routable on OruxMaps.
Comments (1)